How to Fix Bed Adhesion Problems in 3D Printing: Top Solutions
In the realm of 3D printing, bed adhesion problems can be a frustrating hindrance to achieving precise and flawless prints. However, fear not, as this article aims to equip you with the top solutions to overcome these obstacles.
By delving into the importance of bed adhesion, exploring techniques such as proper leveling, selecting the right print surface materials, and utilizing adhesion aids, this comprehensive guide will empower you to conquer bed adhesion issues and liberate your printing endeavors.
Key Takeaways
- Proper leveling of the print bed is essential for good bed adhesion.
- Troubleshooting printer extruder issues and calibrating printer settings can fix bed adhesion problems.
- Lower print speed, adjust layer height, optimize extruder temperature, maintain proper bed temperature, and adjust first layer settings to improve bed adhesion.
- Regularly clean the print bed to prevent debris or residue affecting adhesion.
Understanding the Importance of Bed Adhesion
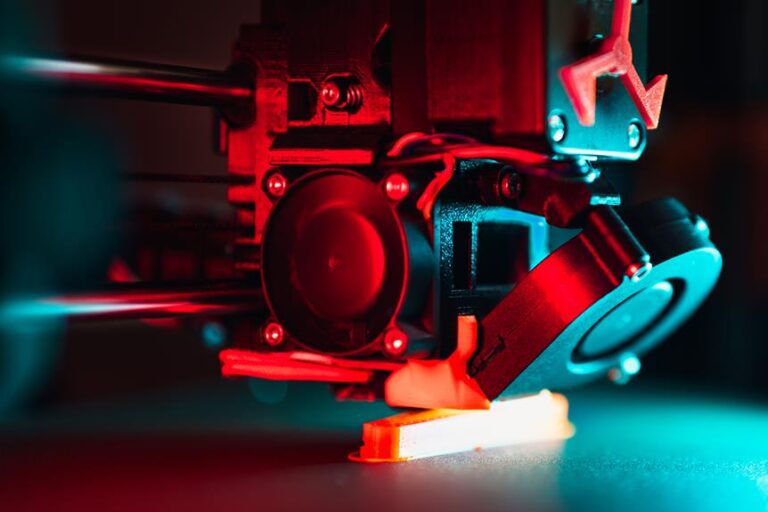
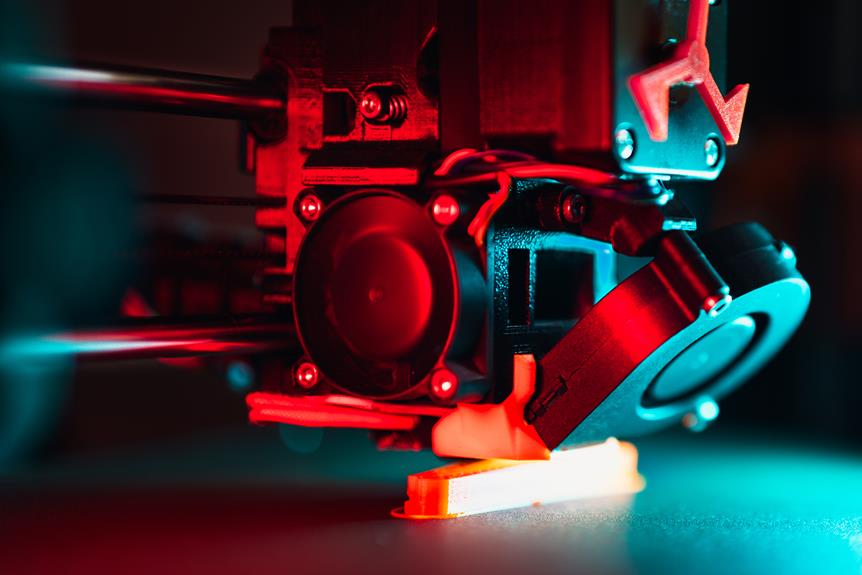
To achieve successful 3D printing results, it is crucial to understand the importance of proper bed adhesion. Bed adhesion refers to the ability of the printed object to firmly stick to the print bed throughout the printing process. It is a critical factor that ensures the stability and accuracy of the printed layers, preventing issues such as warping, shifting, or detachment.

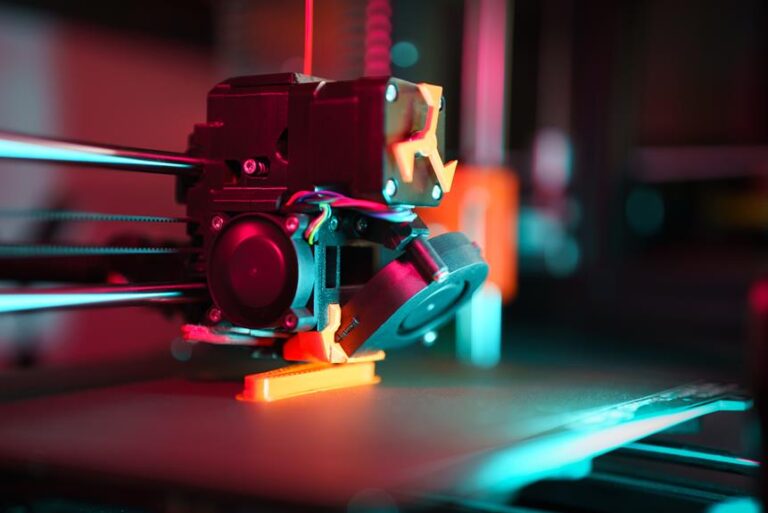
Fixing bed adhesion problems in 3D printing requires troubleshooting printer extruder issues and calibrating printer settings. One common issue is poor first layer adhesion, where the initial layer fails to adhere properly to the print bed. This can be caused by factors such as an incorrect nozzle height, inadequate bed temperature, or improper leveling of the print bed.
Proper leveling of the print bed is essential for achieving good bed adhesion. The print bed should be leveled to ensure that the nozzle is at the correct distance from the bed. This can be done by adjusting the leveling screws or using an auto-leveling feature if available.
Proper Leveling of the Print Bed
Proper leveling of the print bed is crucial for achieving successful 3D prints.
In order to ensure optimal bed adhesion, it is important to employ effective bed leveling techniques.
This includes adjusting the bed height at various points to ensure it is parallel to the print nozzle and maintaining a consistent distance between the nozzle and the bed surface.
Bed Leveling Techniques
An accurate and precise leveling of the print bed is essential for ensuring optimal bed adhesion in 3D printing. Proper bed leveling techniques can greatly improve the success rate of your prints and prevent adhesion problems.
Here are five effective techniques to achieve a well-leveled print bed:
- Manual leveling: This involves adjusting the leveling screws or knobs on the print bed manually until it is perfectly level.
- Auto-leveling: Some 3D printers come with built-in sensors that automatically measure and adjust the bed level.
- Mesh bed leveling: This technique involves creating a mesh of measurement points across the print bed to compensate for any inconsistencies.
- Bed leveling with a feeler gauge: A feeler gauge is used to measure the gap between the nozzle and the print bed at various points, ensuring uniform distance.
- Bed leveling with an adjustable Z-stop: This technique involves adjusting the Z-stop switch to set the correct distance between the nozzle and the print bed.
Importance of Bed Leveling
Achieving precise bed leveling is crucial for ensuring consistent and reliable bed adhesion in 3D printing. Proper leveling of the print bed is essential because it ensures that the first layer of the print adheres well to the bed surface, allowing for a strong foundation for the rest of the print.
If the bed is not level, it can lead to issues such as uneven layer heights, warping, and poor adhesion, resulting in failed prints. Bed leveling involves adjusting the height of the print bed in relation to the printer's nozzle, ensuring that the nozzle is at the correct distance from the bed.
This process is necessary to ensure that the first layer is laid down accurately and uniformly, leading to successful prints with excellent bed adhesion.
Choosing the Right Print Surface Material
Selecting the appropriate print surface material plays a crucial role in ensuring optimal bed adhesion in 3D printing. The right material can provide a strong and reliable foundation for your prints, preventing them from detaching or warping during the printing process.
To help you choose the best print surface material for your needs, consider the following options:
- BuildTak: This material offers excellent adhesion and is resistant to high temperatures, making it ideal for printing with materials like ABS.
- PEI (Polyetherimide): Known for its durability and heat resistance, PEI provides a strong adhesion for various materials, including ABS and PLA.
- Glass: A smooth glass surface can provide good adhesion for PLA and other materials, especially when combined with a thin layer of adhesive like hairspray or glue stick.
- Kapton Tape: This heat-resistant tape can be applied to a print bed to improve adhesion for materials like ABS.
- Polypropylene Sheet: This material offers excellent adhesion for materials like PLA and is known for its low warp and easy release properties.
Using Adhesion Aids and Enhancers
Applying adhesion aids and enhancers can significantly improve bed adhesion in 3D printing, ensuring better print quality and reducing the risk of detachment or warping. These aids and enhancers are designed to provide a strong bond between the print material and the print bed surface.
One commonly used adhesion aid is a 3D printing adhesive, such as a glue stick or hairspray, which can be applied directly to the print bed before printing. These adhesives create a thin layer that helps the print material adhere to the surface more effectively. It is important to choose an adhesive that is compatible with the print material being used.
Another option is to use adhesion sheets or films that are specifically designed for 3D printing. These sheets provide a smooth and flat surface for the print material to adhere to. They can be easily applied to the print bed and are available in different sizes to fit different printer models.
Additionally, some printers offer built-in adhesion aids, such as a heated print bed. Heating the print bed can improve bed adhesion by reducing the temperature difference between the print material and the bed surface. This helps to prevent warping and detachment during the printing process.
Adjusting Print Parameters and Settings
To optimize bed adhesion in 3D printing, it is essential to make precise adjustments to the print parameters and settings. Here are five key adjustments that can help improve bed adhesion:
- Print Speed: Lowering the print speed can allow the first layer to adhere more securely to the build plate. Slowing down the printing process gives the material more time to fuse and bond with the surface.
- Layer Height: Adjusting the layer height can have a significant impact on bed adhesion. Decreasing the layer height allows for better contact between the material and the build plate, resulting in improved adhesion.
- Extruder Temperature: Proper temperature control is crucial for achieving good bed adhesion. Adjusting the extruder temperature can help optimize the material's flow and ensure that it adheres well to the build plate.
- Bed Temperature: Maintaining the proper bed temperature is equally important. Some materials require a heated bed to ensure proper adhesion. Adjusting the bed temperature to the recommended range for the specific material being used can significantly improve bed adhesion.
- First Layer Settings: Adjusting the first layer settings, such as increasing the number of top solid layers, can enhance bed adhesion. Increasing the thickness of the first layer can also provide better adhesion by creating a stronger bond between the material and the build plate.
By making these precise adjustments to the print parameters and settings, you can optimize bed adhesion and improve the overall print quality.
In the next section, we will discuss the utilization of rafts and brims for further improved adhesion.
Utilizing Rafts and Brims for Improved Adhesion
When facing bed adhesion problems in 3D printing, utilizing rafts and brims can significantly improve adhesion.
Rafts are a thick, flat layer of material that is printed underneath the actual object, providing a wider surface area for better adhesion.
On the other hand, brims are thin, single-layer extensions that surround the base of the model, increasing contact with the build platform.
Rafts Vs Brims
Utilizing rafts and brims can significantly enhance bed adhesion in 3D printing, providing better stability and preventing warping during the printing process. These techniques offer additional support to the printed object, ensuring its successful completion.
Here are some key points to consider when deciding between rafts and brims:
- Rafts:
- A solid layer of material that is printed under the object
- Provides a larger surface area for better adhesion
- Helps to distribute the heat evenly, reducing the chances of warping
- Can be easily removed after printing
- Ideal for complex or intricate designs that require extra support
- Brims:
- A thin, single-layer perimeter printed around the base of the object
- Increases the contact area between the object and the build plate
- Prevents the edges from curling up
- Easy to remove without damaging the object
- Suitable for objects with a relatively flat base or small footprint
Adhesion Troubleshooting Tips
By incorporating rafts and brims into the printing process, you can effectively troubleshoot adhesion problems and achieve improved bed adhesion in 3D printing. Rafts and brims are additional structures that are printed underneath the actual model. They provide a larger surface area for the first layer to adhere to, increasing the chances of successful adhesion.
A raft is a horizontal lattice-like structure that is printed directly on the build plate. It acts as a sacrificial layer, providing a solid foundation for the model. The raft can be easily removed after printing, leaving the model intact.
On the other hand, a brim is a single-layer perimeter that surrounds the base of the model. It helps in stabilizing the print and prevents warping. The brim is typically easier to remove compared to a raft, as it is a thin strip of material.
Applying Adhesive Sprays and Glues
One effective solution for improving bed adhesion in 3D printing is to apply a thin layer of adhesive spray or glue to the print bed surface. Adhesive sprays and glues help create a stronger bond between the print material and the print bed, preventing warping, lifting, and other adhesion problems. Here are five options to consider:
- Hairspray: A common and affordable option, hairspray provides a sticky surface for better adhesion.
- Glue stick: Applying a thin layer of glue stick to the print bed can create a strong bond with the print material.
- ABS juice: Made from dissolving ABS filament in acetone, ABS juice is particularly effective for printing with ABS filament.
- PEI sheets: PEI (Polyetherimide) sheets can be attached to the print bed surface and offer excellent adhesion properties for various filament types.
- Adhesive sprays: There are specific adhesive sprays available on the market designed specifically for 3D printing, providing a reliable solution for bed adhesion.
By using adhesive sprays and glues, you can significantly improve bed adhesion in your 3D printing process, leading to successful prints and reducing the chances of print failures.
However, if you're still facing bed adhesion issues despite using adhesive sprays and glues, troubleshooting other potential causes might be necessary.
Troubleshooting Bed Adhesion Issues
Effectively troubleshooting bed adhesion issues is crucial in ensuring successful 3D prints and minimizing the occurrence of adhesion problems. When facing bed adhesion issues, it is important to identify the underlying causes and implement appropriate solutions.
One common problem is improper leveling of the print bed. If the bed is not leveled correctly, the nozzle may be too far from the bed, resulting in poor adhesion. To address this, users should recalibrate the bed and ensure it is level across all points.
Another issue that can affect bed adhesion is an inadequate printing surface. If the surface is too smooth or has poor adhesion properties, prints may not adhere properly. In such cases, using a different print surface, such as a textured build plate or applying adhesion aids like glue or hairspray, can help improve adhesion.
Additionally, adjusting the print settings, such as increasing the initial layer height or slowing down the print speed, can also enhance bed adhesion. Regularly cleaning the print bed and ensuring it is free from debris or residue can further prevent adhesion problems.
Frequently Asked Questions
What Are Some Common Signs of Poor Bed Adhesion in 3D Printing?
Common signs of poor bed adhesion in 3D printing include warping, lifting, or curling of printed objects, uneven or incomplete layers, and the inability of the printed object to adhere to the print bed during the printing process.
Can Bed Adhesion Issues Occur With All Types of 3D Printers, or Are Certain Models More Prone to Them?
Bed adhesion issues can occur with all types of 3D printers, although certain models may be more prone to them due to variations in build plate material, leveling mechanisms, and temperature control systems.
How Can I Prevent Warping and Curling of Prints Due to Poor Bed Adhesion?
To prevent warping and curling of prints caused by poor bed adhesion in 3D printing, several strategies can be employed, such as ensuring a level bed surface, using appropriate adhesives, adjusting print settings, and employing a brim or raft for added support.
Are There Any Alternative Methods for Improving Bed Adhesion Besides Using Adhesive Sprays or Glues?
There are alternative methods for improving bed adhesion in 3D printing, apart from using adhesive sprays or glues. These methods can provide effective solutions to prevent warping and curling of prints, ensuring successful print outcomes.
Is It Possible to Over-Adjust Print Parameters and Settings in an Attempt to Improve Bed Adhesion?
Over-adjusting print parameters and settings in an attempt to improve bed adhesion is possible. However, it is crucial to strike a balance as excessive adjustments can lead to other issues such as warping or nozzle clogging.
Conclusion
In conclusion, ensuring proper bed adhesion is crucial for successful 3D printing. By properly leveling the print bed, choosing the right print surface material, and using adhesion aids and enhancers, bed adhesion problems can be effectively addressed. Additionally, adjusting print parameters, utilizing rafts and brims, and applying adhesive sprays and glues when necessary can further improve bed adhesion. Remember, a strong foundation is the key to achieving high-quality prints.
So, let your creativity take flight by fixing bed adhesion issues with these top solutions.