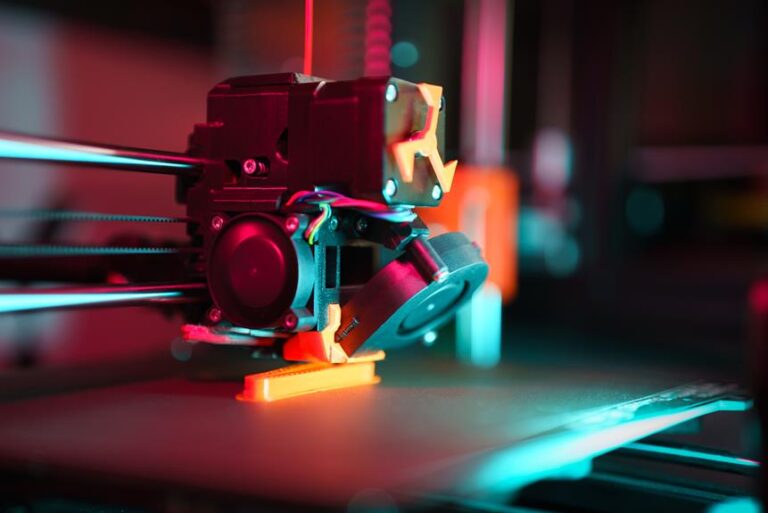
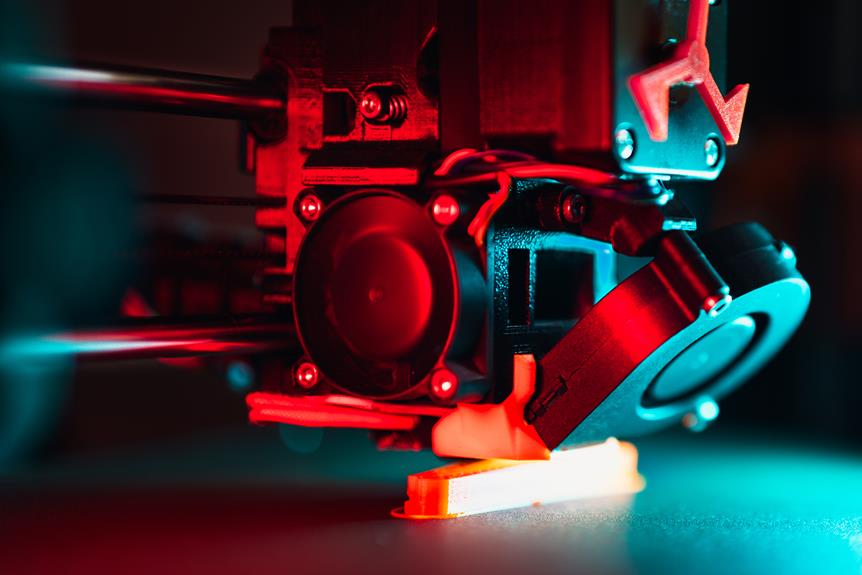
Dealing With 3D Printer Filament Jams: Troubleshooting Guide
In the realm of 3D printing, few things are more frustrating than encountering filament jams. These pesky obstacles can bring even the most skilled printer operator to a halt.
However, fear not! This troubleshooting guide aims to equip you with the knowledge and techniques needed to conquer filament jams with confidence and precision.
From identifying common causes to implementing advanced clearing methods, we will unravel the mysteries of these obstructions and empower you to liberate your printer from their grasp.
Key Takeaways
- Filament jams in 3D printers can be caused by various factors such as clogged extruder nozzles, debris or leftover filament obstructions, incorrect temperature settings, worn-out extruder gears, and loose filament spools.
- Common symptoms of filament jams include inconsistent or no extrusion, grinding noises from the extruder motor, filament deformation near the extruder, and abrupt halts in the extrusion process.
- Troubleshooting techniques for filament jams involve visually inspecting the filament path, taking appropriate actions based on the signs and symptoms, and addressing issues like mid-print material stoppage and smooth filament feeding.
- Preventing future filament jams can be achieved by keeping the filament dry, regularly cleaning the extruder nozzle and hot end, using high-quality filament, and following preventive measures for smooth printing.
Common Causes of Filament Jams
The common causes of filament jams can often be attributed to a combination of factors within the 3D printing process. When dealing with 3D printer filament jams, it is important to understand the troubleshooting process and identify the root causes of the issue.
One of the primary causes of filament jams is a clogged or partially blocked extruder nozzle. This can occur when debris or leftover filament accumulates and obstructs the flow of new filament. To resolve this issue, the extruder nozzle should be cleaned thoroughly using a specialized cleaning filament or by manually removing any clogs.
Another common cause of filament jams is under-extrusion, which happens when the extruder does not push enough filament through the nozzle. This can be caused by incorrect temperature settings, a worn-out extruder gear, or a loose filament spool. To resolve under-extrusion, it is necessary to recalibrate the temperature settings and check the gear for any signs of damage or wear. Additionally, ensuring that the filament spool is properly mounted and feeding smoothly can help prevent under-extrusion issues.
How to Identify a Filament Jam
Identifying a filament jam in a 3D printer is crucial for troubleshooting and preventing future issues. Common symptoms of a filament jam include extrusion problems, irregular prints, or complete blockages in the filament path. By employing various troubleshooting techniques, users can identify and address filament jams effectively.
Some techniques for troubleshooting filament jams include checking for filament tangles or obstructions, adjusting the extrusion temperature, or inspecting the nozzle for clogs. These steps can help determine the cause of the jam and provide a solution.
Implementing preventive measures is also important to avoid future filament jams. Using high-quality filament, maintaining proper printer settings, and regularly cleaning the printer can help prevent jams from occurring.
Common Jam Symptoms
One common symptom of a filament jam in a 3D printer is an abrupt halt in the extrusion process. When this occurs, it is important to identify the problem and take appropriate action to resolve it.
Here are some common jam symptoms to look out for:
- Nozzle clogging: Filament may become stuck in the nozzle, preventing the smooth flow of material. This can result in inconsistent or no extrusion.
- Grinding noise: If you hear a grinding noise coming from the printer, it could indicate that the filament is not feeding properly, potentially due to a jam.
- Filament deformation: If the filament appears distorted or melted near the extruder, it may be a sign of a jam further up the filament path.
Troubleshooting Techniques
To accurately identify and resolve a filament jam in a 3D printer, it is essential to employ effective troubleshooting techniques. By understanding the signs and symptoms of a jam, users can quickly identify the issue and take appropriate action.
One common indicator of a filament jam is when the printer stops extruding material mid-print, resulting in incomplete or distorted prints. Another clue is when the filament is not smoothly feeding into the extruder, causing inconsistent flow and gaps in the printed object. Additionally, clicking or grinding noises from the extruder motor can suggest a jammed filament.
To confirm a jam, users can perform a visual inspection of the filament path, looking for any obstructions or tangles.
Preventing Future Filament Jams
By implementing proactive measures, users can minimize the occurrence of filament jams and maintain the optimal performance of their 3D printers.
To prevent future filament jams, it is important to:
- Keep the filament dry: Moisture can cause filament to swell and become more prone to jams. Store filament in airtight containers with desiccants to keep it dry.
- Clean the extruder regularly: Filament residue can accumulate in the extruder, leading to jams. Regularly clean the extruder nozzle and hot end to prevent blockages.
- Use high-quality filament: Poor quality filament may have inconsistencies or impurities that can cause jams. Invest in high-quality filament from reputable manufacturers.
By following these preventive measures, users can significantly reduce the chances of filament jams and ensure smooth printing.
However, in case a jam does occur, quick fixes can help resolve the issue promptly.
Quick Fixes for Filament Jams
When faced with a filament jam in your 3D printer, there are several quick fixes that can help you resolve the issue efficiently.
One common cause of filament jams is a clogged nozzle. To fix this, you can try using a cleaning filament or a thin wire to clear any blockages.
Another quick fix is to check the extruder gear. Sometimes, the filament can get stuck between the gear and the idler, causing a jam. By removing any obstructions and ensuring that the gear is properly aligned, you can prevent future jams.
Additionally, filament jams can occur if the filament is not feeding smoothly from the spool. To address this, make sure that the spool is mounted correctly and that the filament is not tangled or caught on anything. You can also try adjusting the tension on the filament feeder to ensure a smooth flow.
Advanced Techniques for Clearing Filament Jams
When traditional methods for clearing filament jams fail, advanced techniques may be required.
Two effective techniques for clearing filament jams are the Heat Gun Method and the Cold Pull Technique.
The Heat Gun Method involves using a heat gun to soften and remove the jammed filament.
The Cold Pull Technique involves cooling the hot end of the printer and manually pulling out the jammed filament.
These advanced techniques can be effective in resolving stubborn filament jams and getting your 3D printer back up and running smoothly.
Heat Gun Method
The heat gun method is an advanced technique for clearing filament jams in 3D printers. This method involves using a heat gun to soften the filament and allow it to be removed more easily.
Here are some important points to consider when using the heat gun method:
- Safety first: Always wear protective gloves and goggles to avoid burns and eye damage.
- Temperature control: Use a heat gun with adjustable temperature settings to ensure the filament doesn't melt too much or burn.
- Slow and steady: Apply heat to the jammed area in short bursts, allowing the filament to soften gradually. Move the heat gun around to evenly distribute the heat.
Cold Pull Technique
To effectively clear filament jams in your 3D printer, consider utilizing the advanced technique of the cold pull method. This technique involves using a special type of filament, such as nylon or polycarbonate, to clear out any blockages in the printer's nozzle. The cold pull method is particularly useful when dealing with stubborn jams that cannot be resolved through traditional methods.
To perform a cold pull, start by heating the nozzle to the desired printing temperature. Once the nozzle is heated, insert the special filament and allow it to melt. Then, quickly cool down the nozzle by lowering the temperature to a point where the filament solidifies. Finally, gently pull the filament out of the nozzle, effectively clearing any debris or clogs in the process.
The cold pull technique is an advanced method that requires precision and careful execution. However, when done correctly, it can effectively resolve filament jams and ensure smooth and uninterrupted printing.
Preventing Filament Jams: Maintenance Tips
Regular cleaning and lubrication of the extruder assembly is essential for preventing filament jams. Neglecting proper maintenance can lead to build-up of debris, dust, or hardened filament, which can cause clogs and hinder the smooth flow of filament through the nozzle.
To ensure optimal performance and reduce the risk of filament jams, consider the following maintenance tips:
- Clean the nozzle regularly: Filament residue can accumulate inside the nozzle, leading to blockages. Use a nozzle cleaning tool or a small wire brush to remove any built-up debris.
- Inspect and clean the extruder gears: Over time, the extruder gears can become clogged with filament particles or dust. Regularly inspect and clean the gears to ensure they are free from obstructions.
- Apply lubrication to the filament path: Lubricating the filament path reduces friction and allows for smoother filament movement. Apply a small amount of food-grade lubricant to the filament guide tube or any other relevant parts.
Troubleshooting Filament Feed Issues
One common issue that occurs during 3D printing is filament feed issues, which can be frustrating and hinder the printing process. These issues can range from inconsistent filament flow to complete blockages in the extruder. To troubleshoot filament feed issues, it is important to understand the potential causes and solutions.
One possible cause of filament feed issues is a clogged nozzle. This can happen when debris or melted filament accumulates in the nozzle, blocking the path for new filament to pass through. To resolve this, the nozzle can be cleaned using a needle or filament cleaning tool. Additionally, adjusting the nozzle temperature can help prevent filament from sticking and causing blockages.
Another cause of feed issues can be a problem with the filament itself. Filament that is tangled, brittle, or too thick can cause feeding problems. In such cases, it is recommended to replace the filament with a fresh spool or ensure that the existing filament is stored properly to prevent moisture absorption or tangling.
Furthermore, issues with the extruder gear or filament drive mechanism can also affect the filament feed. A worn-out gear or improperly adjusted tension can lead to inconsistent feeding. Regular maintenance, such as lubricating the gear or adjusting the tension, can help resolve these issues.
Troubleshooting Extruder Problems With Filament Jams
A common issue that arises in 3D printing is the occurrence of frequent filament jams within the extruder, which can significantly impede the printing process. When faced with extruder problems related to filament jams, it is important to troubleshoot the issue promptly to avoid wasted time and materials.
Here are some steps to help you tackle this problem:
- Check the filament path: Ensure that the filament is properly loaded and feeding correctly into the extruder. Look for any obstructions or tangles that may be causing the jam.
- Clean the extruder: Filament residue or debris can accumulate within the extruder, leading to a jam. Use a small wire brush or a specialized cleaning tool to remove any buildup from the nozzle and gear teeth.
- Adjust the extrusion temperature: Sometimes, filament jams can occur due to improper temperature settings. Experiment with adjusting the extrusion temperature slightly higher or lower to find the optimal temperature for your specific filament.
Frequently Asked Questions
Can a Filament Jam Damage My 3D Printer?
A filament jam in a 3D printer can potentially cause damage to the printer if not addressed promptly. It can lead to increased friction, overheating of components, and potential misalignment, resulting in compromised print quality and even permanent damage.
Are Certain Types of Filament More Prone to Jamming Than Others?
Certain types of filament may be more prone to jamming in 3D printers due to factors such as their composition, diameter, and quality. Understanding these characteristics can help users select filaments that minimize the risk of jams and optimize printing performance.
How Long Does It Typically Take to Clear a Filament Jam?
The time it takes to clear a filament jam in a 3D printer can vary depending on the severity of the jam and the specific printer model. Generally, it can take anywhere from a few minutes to several hours to resolve the issue.
Can I Reuse Filament That Has Caused a Jam?
Filament that has caused a jam can be reused, but it is recommended to inspect it for any damage or contamination before reusing. Cleaning the filament and ensuring proper feeding into the printer can help prevent future jams.
Are There Any Warning Signs or Indicators That a Filament Jam May Occur Soon?
Warning signs or indicators that a filament jam may occur soon include inconsistent extrusion, clicking sounds, and filament not smoothly feeding into the printer. These early signs can help prevent potential issues and ensure a smoother printing process.
Conclusion
In conclusion, dealing with 3D printer filament jams can be a frustrating but manageable issue. By understanding the common causes of filament jams, identifying the problem, and using quick fixes or advanced techniques, users can effectively clear the jam and prevent future occurrences.
Regular maintenance and troubleshooting of filament feed issues and extruder problems are crucial for ensuring a smooth printing process.
With these techniques and knowledge, users can confidently navigate the challenges of filament jams and optimize their 3D printing experience.